Crown Imperial
Fritillaria imperialis
Planted Oct. 2, 2015 at the back of the street bed.
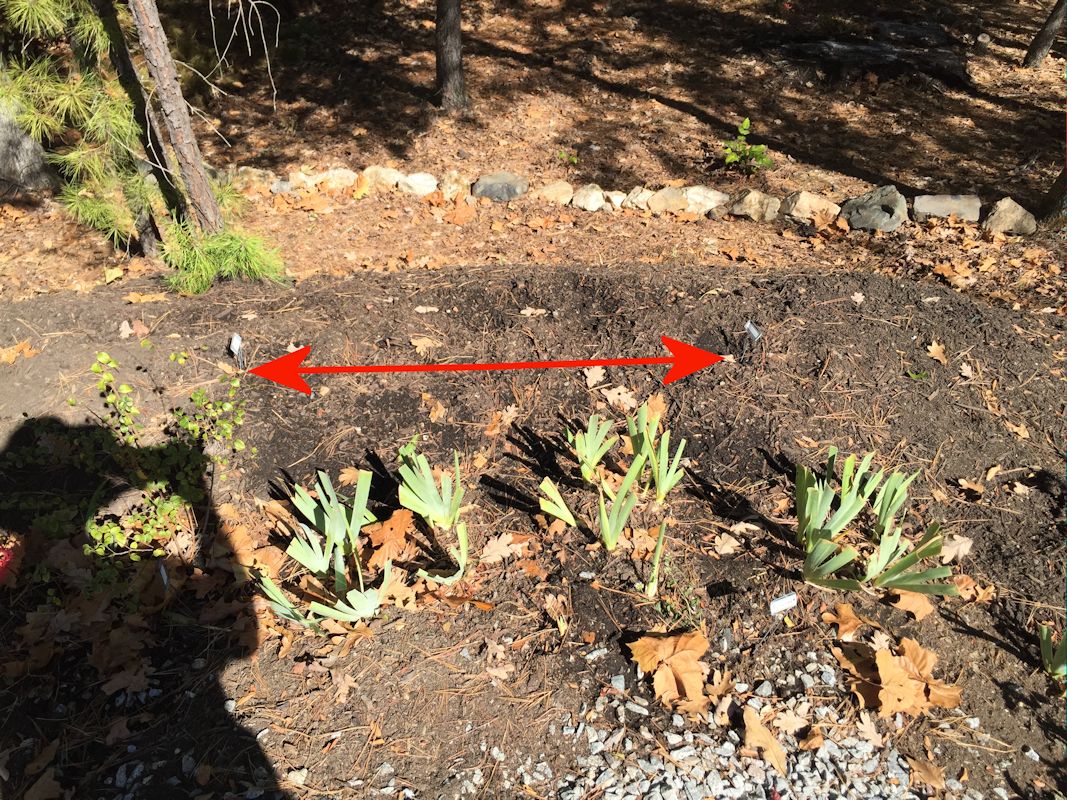
Before I could get chicken wire over the bulbs, an armadillo already dug them up but didn't take the bulbs.
Catalog picture:

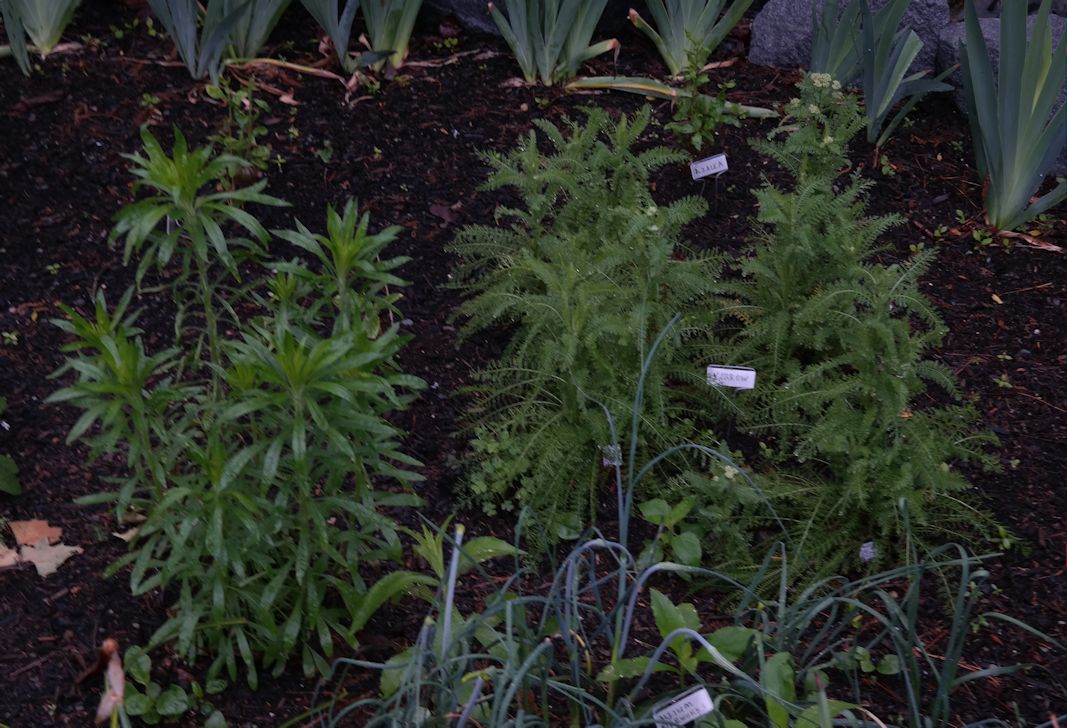
May 9, 2016:
I bought 3 red and 3 yellow. Only 1 plant came up. It is the one on the left:
From: http://homeguides.sfgate.com/grow-crown-imperial-flowers-66101.html.
Crown Imperial features red, yellow or orange blooms that create an impressive “crown” atop a 3-foot tall flower stalk. The plants grow from a simple bulb structure, flower during late spring and go dormant by summer. The showy flowers make a striking display when formally lined up in borders and edges or as a focal point in a single bed. Crown Imperial grows as a perennial, low maintenance bulb in U.S. Department of Agriculture plant hardiness zones 5 through 9.
-
Grow crown imperial in a bed that receives a full six to eight hours of daily sunlight and provides optimum drainage. Amend the top 8 inches of soil with a 2-inch layer of compost before planting and place a layer of sand on top of newly planted bulbs before replacing the soil to improve drainage.
-
Water crown imperial flowers only when they are actively growing to minimize rot issues. Apply approximately 1 inch of water about once a week so the top 6 inches of soil remains moist. Avoid standing water and wet soil.
-
Maintain a 9 to 12 inch spacing between the plants to minimize fungal issues, rust and leaf spots because of poor air circulation.
-
Cut back the foliage to the ground after it dies back naturally in summer and dispose of the removed plant material. Stop watering the plants after they die back.
-
Divide the bulbs every three to five years in fall, when the plants become crowded. Dig up the bulbs and separate them. Replant them at a 6-inch depth, place the bulbs on their side and covering them with a thin layer of sand to minimize rot concerns.
-
Spread 1 inch of compost over the bed each fall to provide additional soil nutrients without the need for fertilizer. Cover the compost with a 2-inch layer of mulch for winter insulation and to prevent weed growth.
From www.hollandbulbfarms.com/planting-fritallaria.html:
- Fritillaria are planted in fall, during this time roots will form and the bulbs will grow and bloom mid-spring
- When planting Fritillaria is imperative that the soil is well draining!*
- The planting location should receive full sun, partial shade, or even dappled shade.
- The spacing will vary depending on the size and type of Fritillaria bulb. For instance, the
Checkered Lily only needs 2-4" of space between bulbs whereas the large bulbs of the Red, Yellow, or Orange Fritillaria should be planted with 8-12" of space between bulbs.
Plant the Fritillaria bulbs 6" deep.
- The bulbs of the large (Fritillaria imperialis) Red, Orange, and Yellow Fritillaria are quite large and have a hollow center. Because of this hollow center it is best to plant these bulbs on their sides, to prevent water from sitting in the center and this area from rotting.
- Thoroughly soak the area with water once all the bulbs have been planted. Water as needed while the plant is growing and blooming.
- After the flowers have died, allow the foliage to yellow and die back. The leaves will continue to gather sunlight and make food for next year’s blooms.
- Once the foliage has yellowed and dried, the foliage may be removed by gently pulling it out of the soil. If the leaves do not easily pull away from the bulb, they are not ready to be removed.
- Your Fritillaria are now dormant and ready to rest until next year!
From http://www.thegardenhelper.com/fritillaria.html:
- Prepare the planting hole by adding a 2" layer of coarse builders sand or fine gravel at the bottom of the hole to prevent rot, and adding bone meal and a generous amount of compost to the removed soil.
- Place the bulb on its side, on top of the sand base so that the bottom of the bulb is 8" deep.
- Fill in the hole with the prepared soil.
- Water regularly and thoroughly throughout the growing season, but reduce watering when your Crown
- Imperial goes dormant. After flowering stops and the leaves die off in mid summer, cut the stems back to just above the ground level, then mark the spot with a stake. Provide a heavy winter mulch, which should be removed and replaced with a top-dressing of compost in the spring.
- Take precautions to protect new growth from slugs and snails.
Propagating:
- Established Crown Imperial plants resent being disturbed, but they can be propagated by digging and dividing offsets from the parent bulbs in the summer, after the foliage has ripened.
- Pot up the smaller bulbs immediately and hold them in a bright, protected area for the first year, to allow them to develop. Larger bulbs should be replanted immediately into their permanent spot in the garden.
- Crown Imperial plants grown from seed will take up to 5 years before they produce their first blooms. Fritillaria seeds require a minimum of 3 weeks of cold stratification before germination. The seeds should be sown into flats as soon as they are ripe and barely covered with fine soil before placing the flat in a cold frame or covering it with plastic and digging it into a protected area of the garden. the seeds will germinate in the spring, but allow the seedlings to grow on in the flat for the first year before moving them to the garden in the fall.
I ordered three sets of these from Burgess Seed & Plant Co. at a price of $18 for a set of one yellow and one red.
One of the reds rotted in shipment and Burgess refused to send a replacement unless I mailed back the packaging they came. I requested the replacement in a reply to the email they sent to me as a receipt, yet they refused to acknowledge that as a receipt, saying that the packaging acts as the receipt.
In the spring, only 1 of the 6 plants came up.
At the same time I had ordered 24 daisies which they sent as bare roots packaged 3 to a plastic bag. At best it was difficult to separate the supposed 3 plants and at worst, I could only find 2 in a couple of packages.
Given this experience and the poor customer support, I do not recommend ordering from Burgess despite their big name in the field. You can Google for other suppliers, such as TulipWorld.com.
|